
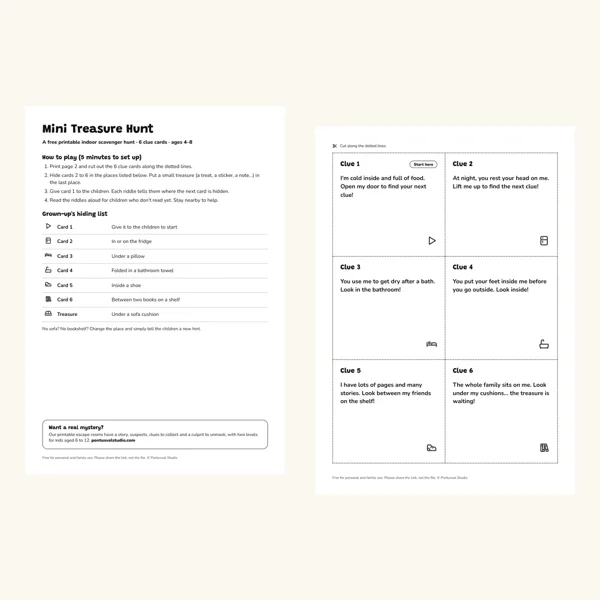
Free printable indoor scavenger hunt for kids (6 clue cards, PDF)
A free printable treasure hunt for kids aged 4 to 8: 6 riddle clue cards to hide around the house, a hiding list for grown-ups, A4 and US Letter PDF.
· 3 min read
Launch sale: −25% on Etsy until 20 NovemberCyber Specials: −30% on Etsy until 1 DecemberInstant download · Print at home · 2 levels in every game
hello@pontusvalstudio.comChoose the right game, print it, hide the clues and run the game calmly: a practical step-by-step guide for parents, from setup to the final reveal.
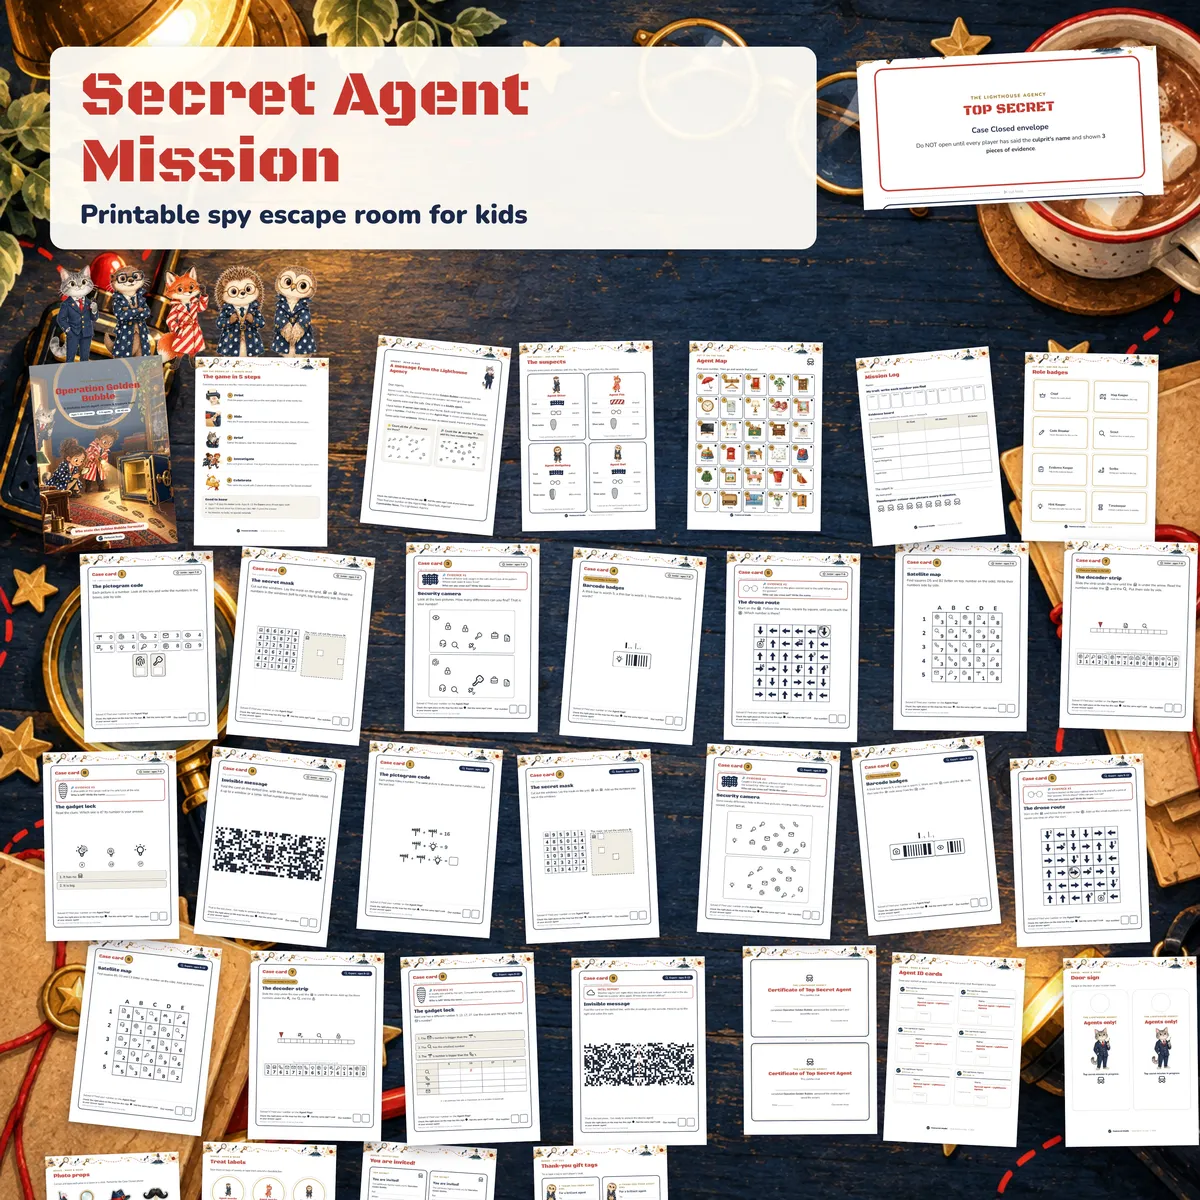
A printable escape room is one of the simplest ways to turn an ordinary afternoon into an adventure. There are no padlocks to buy and no app to install: you print some pages, hide them around the house, and the children solve puzzles to find the next clue. This guide walks you through the whole thing, from choosing a game to the final reveal, so that you can run it calmly, even the first time.
The name comes from commercial escape rooms, where a group is locked in a room and has an hour to get out. At home, nobody gets locked in. The idea that survives is the chain of puzzles: each solved puzzle unlocks the next step, and the group works towards a final goal, such as finding a treasure or naming a culprit.
Most printable versions work in one of two ways. In some, all the puzzles sit on the table and the answers open paper “locks”. In others, the cards are hidden around the home and each answer tells the children where to look next. The second kind gets children moving and searching, which is a big part of the fun for younger players. Our escape rooms use that second approach: every answer is a number, and a map tells the players which hiding place that number stands for.
Three questions help you pick:
This sounds obvious, but it is the step most people skip. Read the host guide or quick-start once, from start to finish, before printing anything. You want to know three things: what you need to print, where the cards go, and how the game ends.
Good printable games tell you the setup time and the play time. Treat both as estimates. In our kits we suggest about 15 minutes to print and hide the cards and roughly 30 to 45 minutes of play, but a group of keen eight-year-olds and a group of tired six-year-olds will not move at the same pace.
Cut out what needs cutting, and if the game includes a final envelope, seal it now so nobody peeks.
This is where you set the difficulty. A few rules of thumb:
Children engage far more when there is a story. Gather them, read the opening letter or mission briefing aloud, and explain the three practical rules: where they are allowed to search, that everything they need is on paper, and how to ask for a hint.
If the game has roles (reader, map keeper, note taker), hand them out now and rotate them during the game. This is the easiest way to make sure the quieter child gets a turn.
Your job during the game is to keep things moving, not to solve the puzzles.
Before opening the final envelope or checking the answer, ask the group to agree on their conclusion and explain why. This is the moment where children use the clues they collected, and hearing them argue their case is often the best part of the afternoon.
Then open the envelope together. Whether they were right or not, go through the solution: the “aha” moments make the game memorable. A small certificate or a treat at the end is a nice touch but not essential.
That is all there is to it. The first time takes a little preparation, and after that you will find it is one of the easiest ways to give children a real adventure without leaving the house.
Shop
 −25%−30%
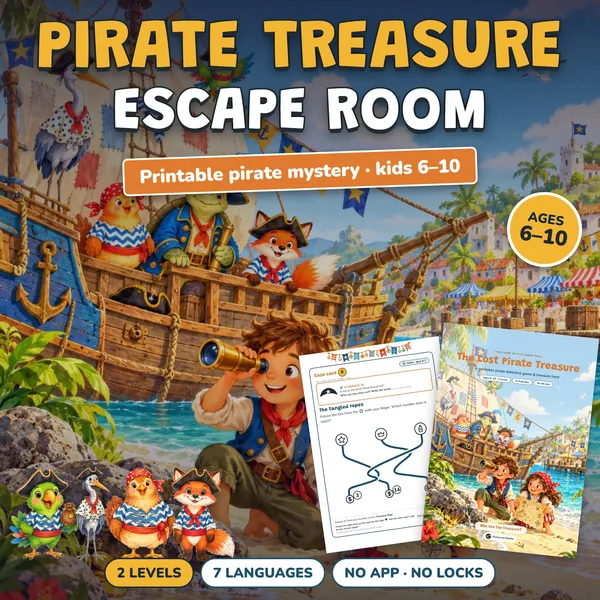
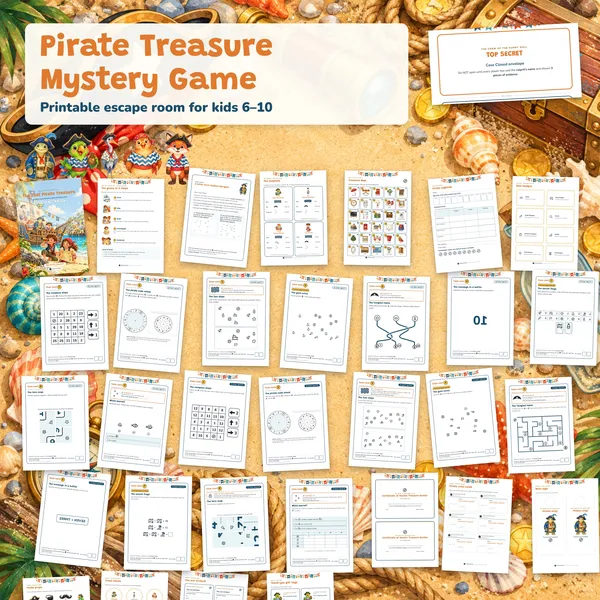 −25%−30%
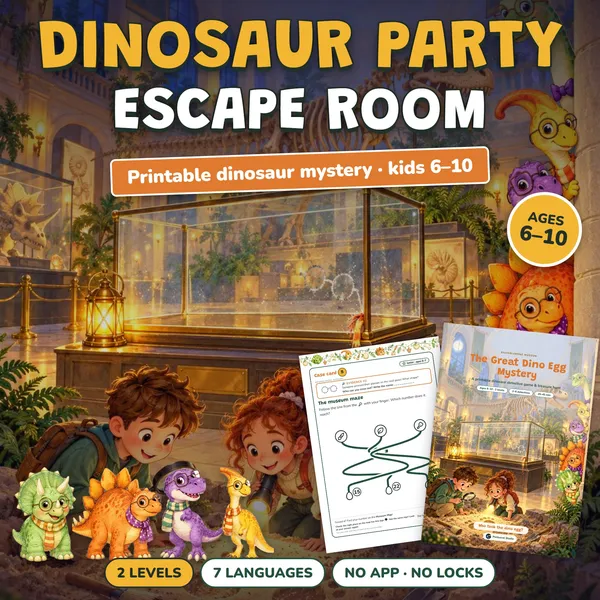
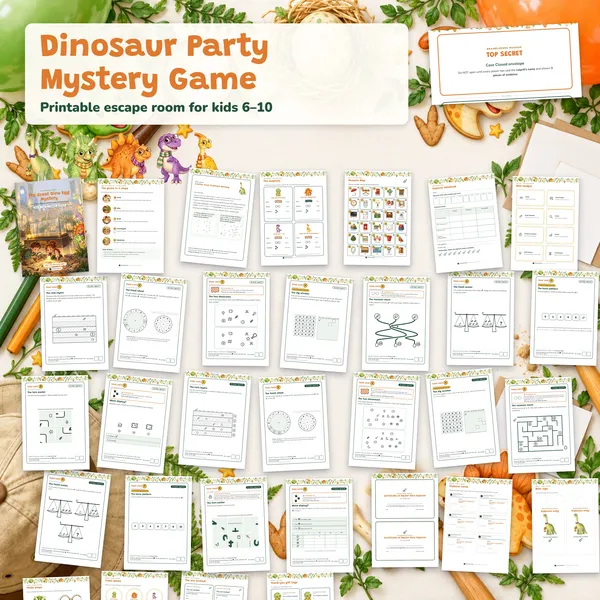 −25%−30%
Blog
A free printable treasure hunt for kids aged 4 to 8: 6 riddle clue cards to hide around the house, a hiding list for grown-ups, A4 and US Letter PDF.
· 3 min read
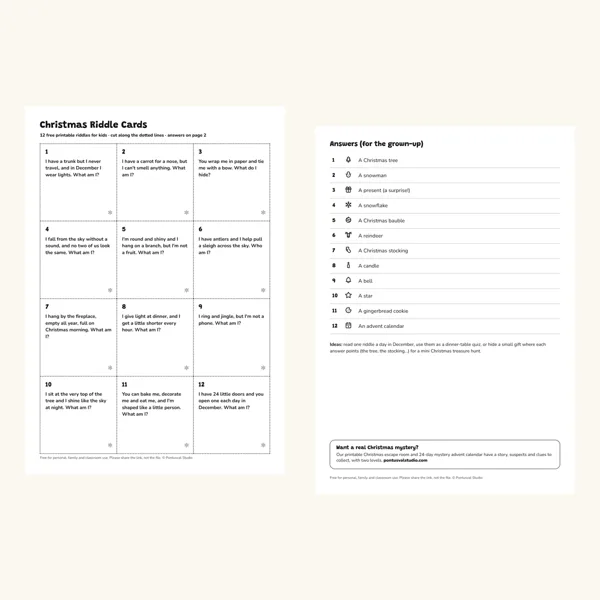
46 original Christmas riddles for kids with answers: easy, tricky, funny, math and winter riddles, plus 12 free printable riddle cards (PDF) and a hunt idea.
· 11 min read
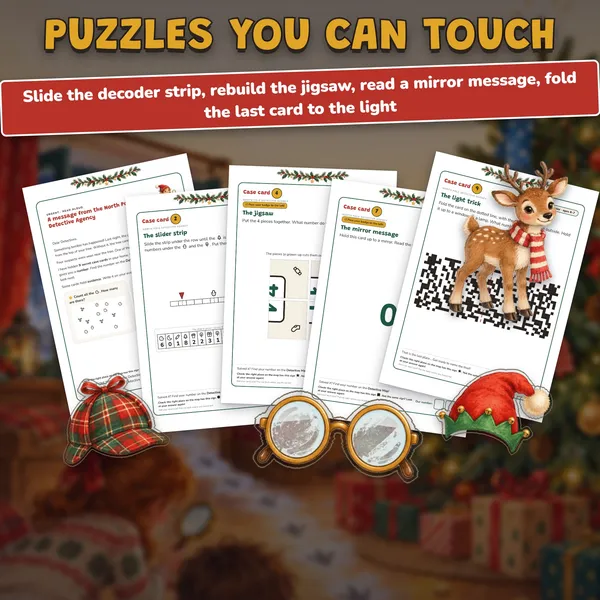
25 Minute to Win It Christmas games with household items: easy ideas for little kids, school-age kids and the whole family, plus a scorecard and tournament plan.
· 12 min read